Setting up gentoo linux
This page will get you all the way to an installed gentoo system!
Configuring make.conf
Before proceeding with the next steps, it's important to configure certain things in make.conf. It is fully possible to do these configuration steps later, however I strongly recommend doing them now in order to avoid issues later on.
That being said, this guide will only go through basic, widely applicable configuration, as going in much deeper would just be re-telling a big part of the gentoo wiki.
For more information about configuring make.conf Click Here!
That being said, this guide will only go through basic, widely applicable configuration, as going in much deeper would just be re-telling a big part of the gentoo wiki.
For more information about configuring make.conf Click Here!
- COMMON_FLAGS
Defines basic compiler flags. You can add '-march=native' if you want a bit of extra performance, otherwise leave at default, unless you know what you're doing.
- CFLAGS, CXXFLAGS, FCFLAGS, FFLAGS
Tells the different compilers how to use your COMMON_FLAGS. Leave at default, unless you know what you're doing.
- USE
Already mentioned on the 1st page, however there is more to it than what was explained there. USE can dictate both which features you want and which ones you don't. For example:
/etc/portage/make.conf
USE="wayland bluetooth"
Will tell portage to compile programs with bletooth and wayland support, wherever applicable. However, some packages might have default features that you don't want or they might have several optional dependencies listed for automatic install, unless told otherwise. You can prevent this by putting a - in front of the features you do not want:
/etc/portage/make.conf
USE="wayland -bluetooth"
This will tell portage to install the packages who ask about wayland support, with wayland support and the ones who ask about bluetooth support, without it.
- MAKEOPTS
Already explained on the 1st page, set to '-j{number of CPU cores}'
- ACCEPT_LICENSE
Already explained on the 1st page, set to '*'
- CPU_FLAGS_X86
Tells the compiler which features are supported by your CPU. We'll set this one a bit later...
- VIDEO_CARDS
Tells portage which graphics driver to install.
Intel GPU users, set to: 'intel'
Intel GPU users, set to: 'intel'
Attention: People using 2nd gen core processors or older should set it to: 'intel i915'
AMD GPU users, set to: 'amdgpu radeonsi'
People who wish to use the AMDGPU-PRO proprietary driver should leave this unset and Consult the AMDGPU-PRO wiki.
NVIDIA GPU users, set to: 'nvidia' if you want to use the proprietary NVIDIA driver or to 'nouveau' if you want to use it's open source re-implementation.
People who wish to use the AMDGPU-PRO proprietary driver should leave this unset and Consult the AMDGPU-PRO wiki.
NVIDIA GPU users, set to: 'nvidia' if you want to use the proprietary NVIDIA driver or to 'nouveau' if you want to use it's open source re-implementation.
Note: There is an entire section dedicated to setting up the NVIDIA driver and hybrid graphics which is located further down.
- GRUB_PLATFORMS
If you have an UEFI system, set to: 'efi-64', if not, do not set.
- EMERGE_DEFAULT_OPTS
Adds options to the emerge command, without you having to type them. Example:
/etc/portage/make.conf
EMERGE_DEFAULT_OPTS="--ask"
Is the same as you typing:
~
#
emerge --ask
Every time.
Here is what an example, configured make.conf looks like:
/etc/portage/make.conf
- # Stuff
- COMMON_FLAGS="-O2 -pipe -march=native"
- CFLAGS="${COMMON_FLAGS}"
- CXXFLAGS="${COMMON_FLAGS}"
- FCFLAGS="${COMMON_FLAGS}"
- FFLAGS="${COMMON_FLAGS}"
- MAKEOPTS="-j4"
- USE="pipewire wayland jack vulkan elogind raytracing bluetooth -clang -systemd"
- ACCEPT_LICENSE="*"
- EMERGE_DEFAULT_OPTS="--ask"
- VIDEO_CARDS="intel"
- GRUB_PLATFORMS="efi-64"
- Using gentoo with binary packages
Ok, let's just say that you really don't wanna wait for programs to compile or your computer just doesn't quite do it when it comes to compiling huge packages, like desktop environments and firefox.
Well, you're in luck, as recently the gentoo team has introduced official binary repositories. Enabling their use is as simple as adding:
Well, you're in luck, as recently the gentoo team has introduced official binary repositories. Enabling their use is as simple as adding:
/etc/portage/make.conf
FEATURES="getbinpkg"
Into your make.conf. Do note that not every package has a binary at this point of time and this feature simply tells portage to pull from the binary repository, whenever possible.
Note: You might get keyring issues when attempting to install binary packages, you can fix them by running 'getuto' and installing (reinstalling) 'sec-keys/openpgp-keys-gentoo-release'
Got all that? Now let's begin the actual installation by:
Chrooting in...
Now that we have our partitions and make.conf setup and our stage3 extracted, it's time to chroot into the previously mentioned stage3 base system.
But what is chroot? It is the process of changing the root directory of a running process.
For our usecase, it allows us to directly use the gentoo base system from our LiveISO of choice as if it was already installed.
However, before doing that, as always, there a few extra steps:
But what is chroot? It is the process of changing the root directory of a running process.
For our usecase, it allows us to directly use the gentoo base system from our LiveISO of choice as if it was already installed.
However, before doing that, as always, there a few extra steps:
- 1st, Copy DNS info
This is really important, as without copying the DNS info from the LiveISO, you will lose your internet connection once you chroot.
~
#
cp --dereference /etc/resolv.conf /mnt/gentoo/etc/
- Then, mount the pseudo-filesystems
Pseudo-filesystems are pretty complicated and explaining them is outside the scope of this guide, just think of them as something necessary for the chrooted system to work properly. If you want to read more about them, Click Here!.
There are two ways of going about doing this, the automatic way and the manual way. The automatic way is a lot easier, however is requires that Arch Install Scripts be installed on your LiveISO of choice, which may or may not be possible, depending on the one you've chosen.
On the linux mint LiveISO, installing Arch Install Scripts is as simple as running:
On the linux mint LiveISO, installing Arch Install Scripts is as simple as running:
~
#
apt install arch-install-scripts
After which, chrooting into the stage3 is as simple as running:
~
#
arch-chroot /mnt/gentoo
The manual method is a bit more complicated, however it should work, regardless of your LiveISO of choice.
~
#
mount --types proc /proc /mnt/gentoo/proc
~
#
mount --rbind /sys /mnt/gentoo/sys
~
#
mount --make-rslave /mnt/gentoo/sys
~
#
mount --make-rslave /mnt/gentoo/dev
~
#
mount --rbind /dev /mnt/gentoo/dev
~
#
mount --bind /run /mnt/gentoo/run
~
#
mount --make-slave /mnt/gentoo/run
These commands will mount all of the necessary pseudo-filesystems that were mentioned above, after which we can chroot by running:
~
#
chroot /mnt/gentoo /bin/bash
But it's not over yet! After chrooting, you need to reload the shell to be able to use commands from the chroot, which can be done by running:
~
#
source /etc/profile
~
#
export PS1='(chroot) ${PS1}'
Note: The export command at the end is optional, all it does is that it puts (chroot) before your shell. It is entirely a visual thing.
With all of that done, congratulations, you are now technically using gentoo! Now, lets get it actually installed on your system, starting by:
Initializing portage and installing base packages
A large part of the gentoo instsllation process if fully automated, however before getting to that part, you have to configure some things by yourself.
Before installing anything however, you're firts gonna need to initialize portage by running:
Before installing anything however, you're firts gonna need to initialize portage by running:
~
#
emerge-webrsync
After which, you can test if it's working by installing your first (and most important) package
~
#
emerge -a neofetch
~
#
neofetch

Now that portage is working, it's time to go back to CPU_FLAGS_X86 again. As mentioned before, it lets the various compilers which X86_64 features your particular CPU supports.
Explaining said features is outside the scope of this guide, but the TL;DR for this usecase is that letting the compilers know which features your CPU supports equals more performance.
To see which features are supported by your particular cpu, you can use a tool called cpuid2cpuflags, which can be installed by running:
~
#
emerge -a cpuid2cpuflags
After it's installed, run:
~
#
cpuid2cpuflags >> /etc/portage/make.conf
After that, open /etc/portage/make.conf with nano and at the bottom of the file you should see something like this:
/etc/portage/make.conf
CPU_FLAGS_X86: aes avx f16c fma3 fma4 mmx mmxext polmul popent sse ssez sse3 sse4_1 sse4_2 sse4a ssse3 xop
Change it to: (replace the colon with an equals and add quotes around the flags)
/etc/portage/make.conf
CPU_FLAGS_X86="aes avx f16c fma3 fma4 mmx mmxext polmul popent sse ssez sse3 sse4_1 sse4_2 sse4a ssse3 xop"
Now, let's actually start installing some of the base packages.
Networking stack
There are a few choices when it comes to a networking stack, however this guide is written with Network Manager in mind, as it's the most widely supported and feature rich one.
You can check out some of the other options by clicking Here
- But why do I need a 'networking stack', wasn't the copying resolv.conf thing supposed to take care of networking?
Copying resolv.conf simply copies the network configuration from the LiveISO, which does not carry over once the system is installed and you've booted from it.
TL;DR without it, networking will work until the next reboot.
It can be installed by typing:
~
#
emerge -a networkmanager
NetworkManager will pull a couple of dependencies, and yeah, that's it, network setup is complete.
Linux Kernel
As you've probably heard or seen at this point, the operating system, usually referred to as 'linux', is actually GNU/Linux or in this case: 'KDE Plasma / Wayland / OpenRC / Gentoo / GNU / Linux'.
With that in mind, it's time to install the 'linux' part of this entire thing.
-But what is a kernel?
A kernel is kind of like a glue that connects the hardware with the sowftware. The linux kernel in particular, however is a bit more complicated than that, as it's what's called a 'macro' kernel, meaning that it handles more than just the basic communication between the software and the hardware it also handles device drivers.
Configuring the linux kernel simply means choosing which drivers and features you need from it and which ones you don't.
Unfortunately, choosing said drivers is a complicated and extremely personalized task, which is simply impossible to fully explain in a guide like this, as every piece of hardware needs it's own specific driver or in some cases set of drivers...
Fortunately, it's completely optional!
Gentoo provides a fully configured kernel that should work flawlessly on 90% of devices. To install it, simply type:
~
#
emerge -a gentoo-kernel-bin
After it's installed, make sure it's selected as active:
~
#
eselect kernel list

Make sure there is a * next to the linux-(something)-gentoo-dist
Then, install linux-firmware.
Then, install linux-firmware.
~
#
emerge -a linux-firmware
Linux-firmware contains a bunch of extra drivers that for one reason or another could not be built directly into the kernel. TL;DR wifi is probably not gonna work without it...
And that's pretty much it for installing the dist-kernel, if you do not wanna bother configuring your own kernel, you are fully free to click here to skip to the next section.
For the people who want to configure their own kernel, again, it's impossible to put all of the information necessary for doing that in one guide, however with that being said, here are the basics of to do it:
- Choosing kernel sources
Gentoo gives you the option to choose your kernel sources, which are gonna be the foundation for your kernel. The difference between the different sources is mainly that some of them have extra features and optimizations that may not be present in others. You can see all of the available kernel sources by typing:
~
#
emerge --search sources
This will list quite a lot of things, however the main ones you should pay attention to are:
1. gentoo-sources - the sources that the preconfigured kernel is based on
2. zen-sources - sources for building a slightly more optimized 'zen' kernel
3. vanilla-sources - the regular linux sources with no modifications or optimizations
All of the other 'sources' are meant for specialized uses, like the asahi sources, used to build linux kernels that run on apple silicon macs. Or the rt-sources, used to make 'realtime' linux kernels that provide certain, very complicated to explain benefits to large scale servers.
After you've installed your sources of choice, make sure that they are selected as the 'active' kernel.
After you've installed your sources of choice, make sure that they are selected as the 'active' kernel.
~
#
eselect kernel list

In this case, [1] is the sources and [2] is a dist-kernel. To select the sources, in this case you'd run:
~
#
eselect kernel set 1
~
#
eselect kernel list

With the sources selected and downloaded, it's time to actually configure them and build your kernel... and this is where the whole very complicated part comes in.
To properly configure a kernel, you need to know the exact model of things like your: CPU, GPU, Motherboard chipset, SATA controllers, USB2 controllers, USB3 controllers, Thunderbolt controllers, display controllers and every other little thing in your PC.
It's a huge trial and error process, which is why it is usually recommended to use a premade kernel for the initial setup and configure your own at a later point.
With all mind, let's begin by:
- Installing genkernel
Genkernel is a tool, provided by gentoo that makes building and installing custom kernels much easier than doing it manually by doing things like generating initramfs automatically.
~
#
emerge -a genkernel
With genkernel installed, it's time to actually start:
- Configuring the kernel
Kernel sources are stored at /usr/src, cd there and into the folder with the name of your chosen kernel sources.
After that, type:
After that, type:
/usr/src/linux-6.6.21-gentoo
#
make nconfig
After a bit of loading, a menu like this should appear.
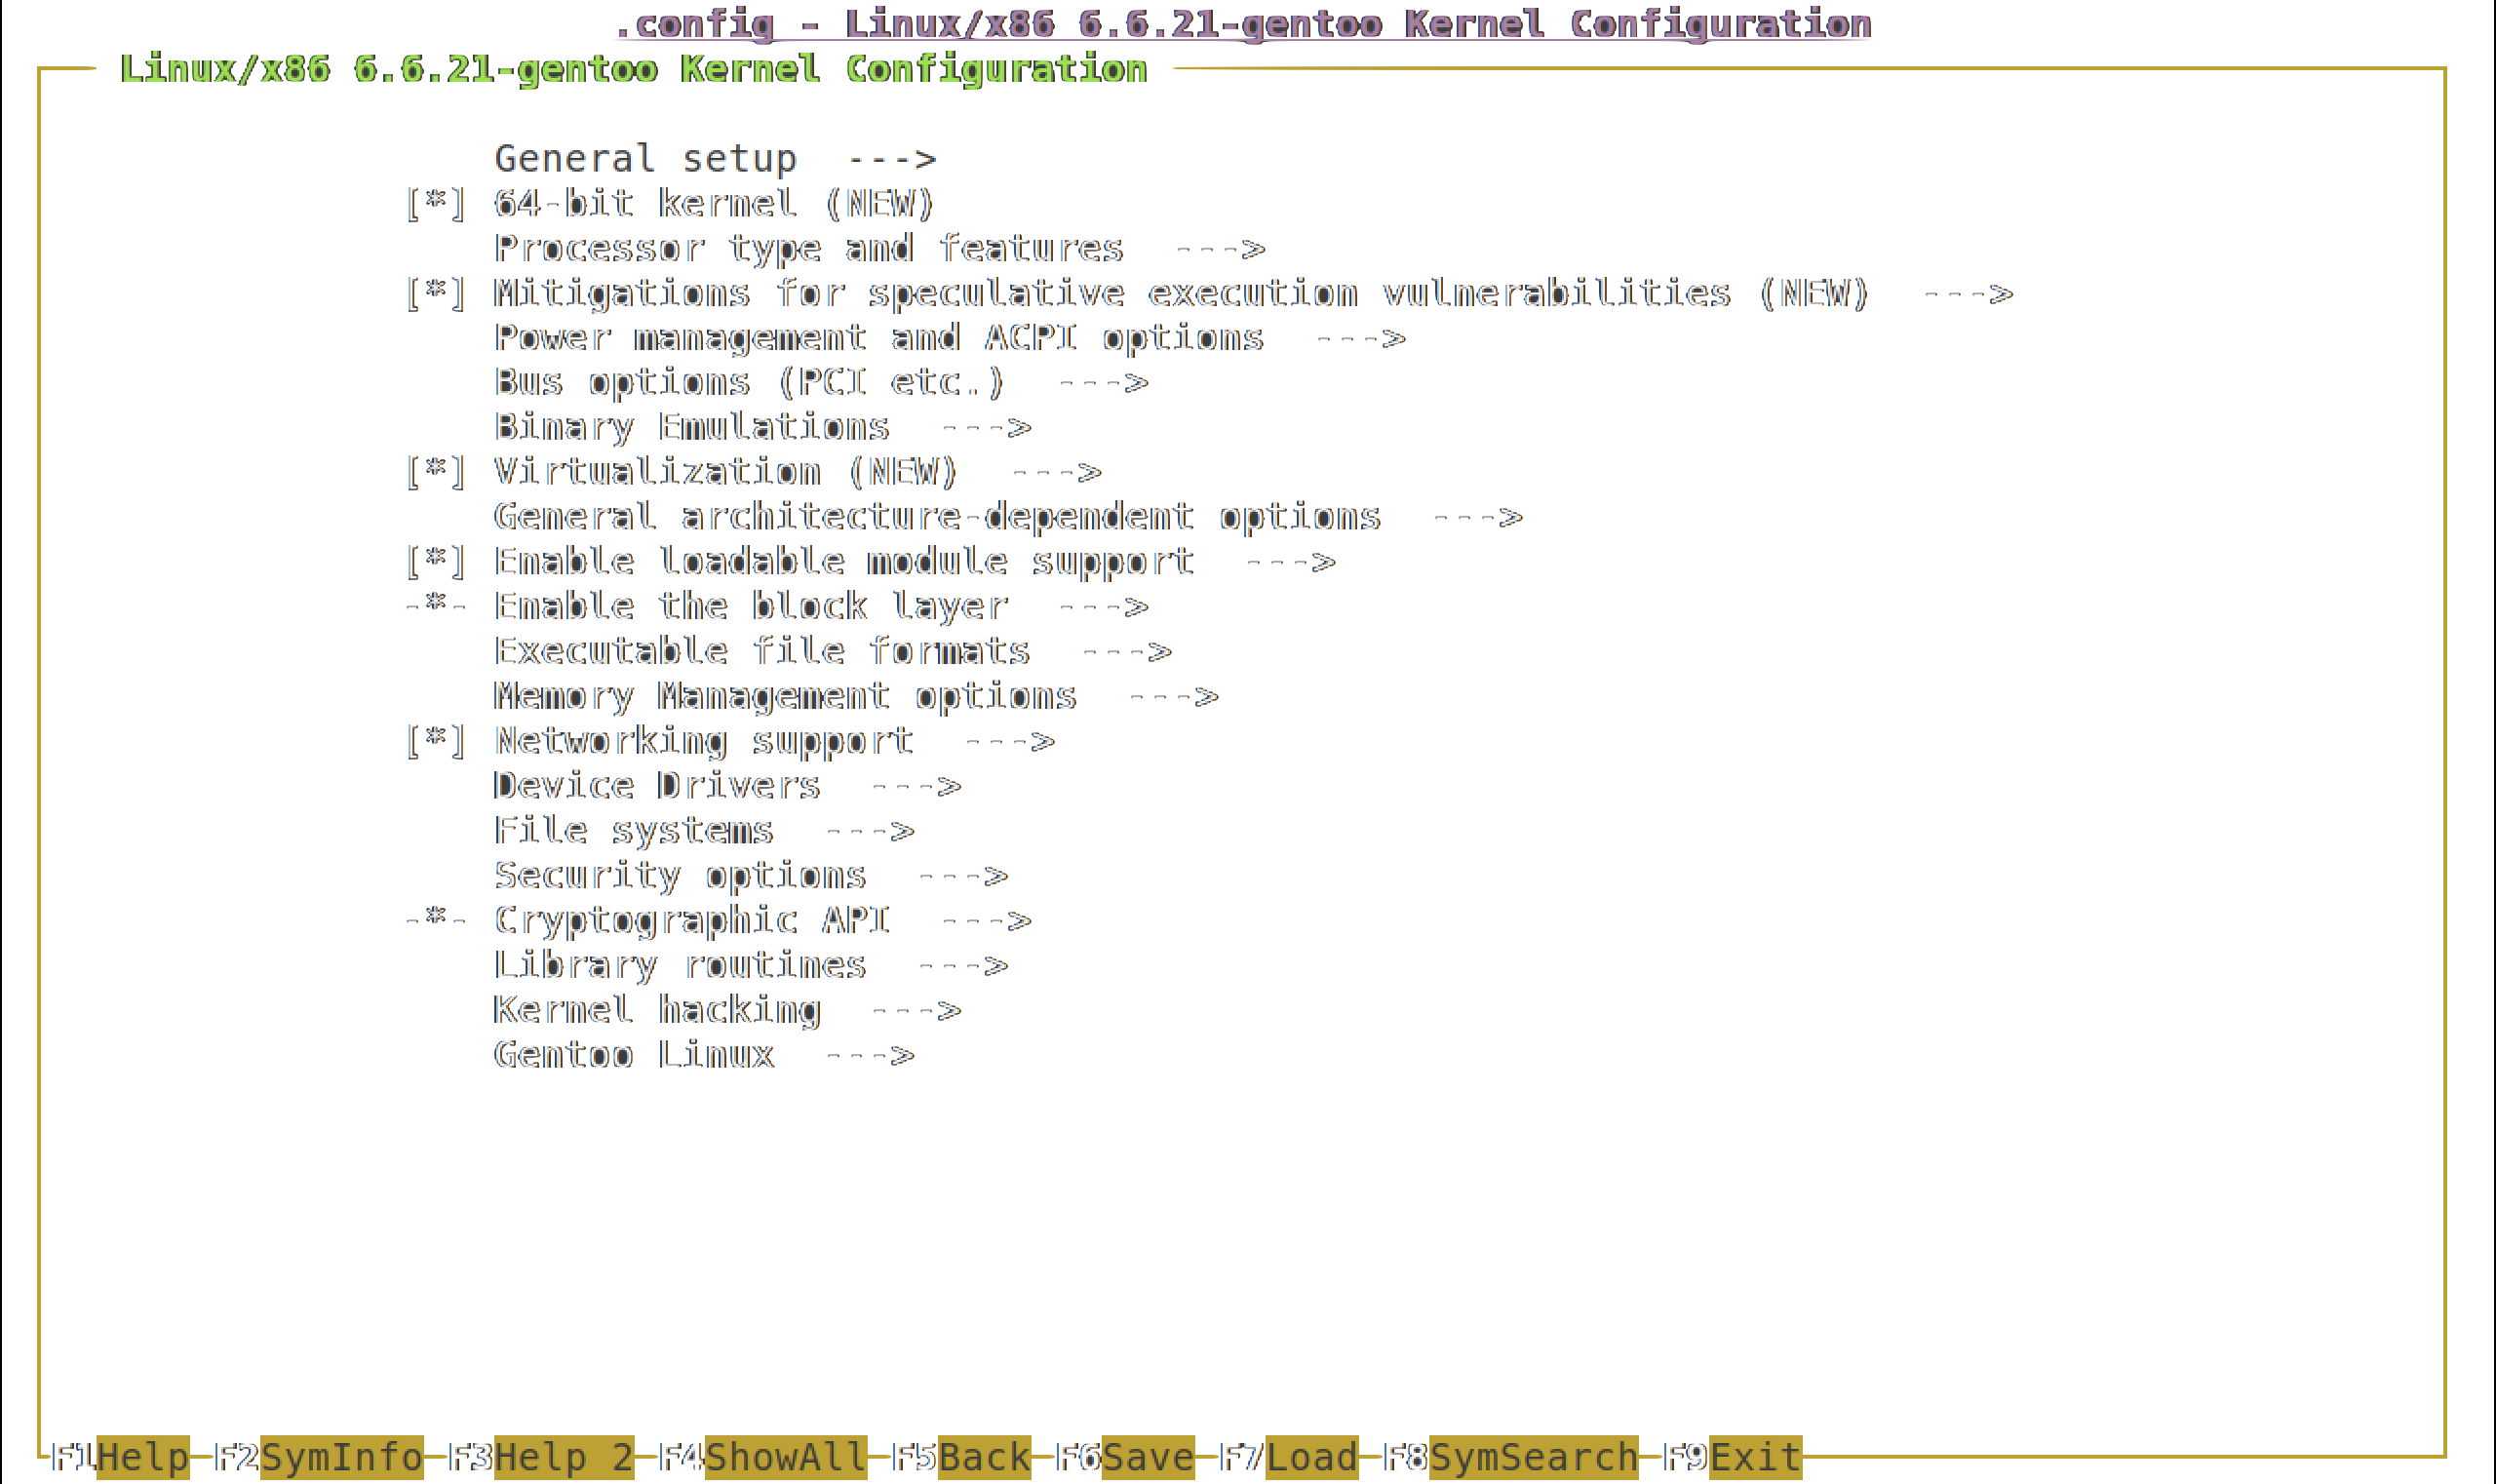
At this point, figuring out how to configure the kernel should go something like this:

Looking up which options need to be changed for your specific hardware is the best way of going around configuring the kernel.
There are a couple of useful commands that will help you find the exact hardware you need to look up the configuration for:
There are a couple of useful commands that will help you find the exact hardware you need to look up the configuration for:
- lspci
Lists all PCI devices. Devices like graphics cards, NVME controllers, USB controllers and everything else connected through a PCI/PCIE interface.
To use it on gentoo, install the pciutils package and type:
To use it on gentoo, install the pciutils package and type:
~
#
lspci
You can combine lspci with grep to only get certain types of PCI devices, for example:
~
#
lspci | grep VGA
To list only graphic cards.
- lsusb
Lists USB devices/hubs/controllers. However, it's not all USB things. Some PCs and laptops have internal USB hubs/controllers wired through PCIE and will show in lspci.
To use it, install the usbutils package and type:
To use it, install the usbutils package and type:
~
#
lsusb
After the kernel has been configured, you can use the previously mentioned genkernel command to build and install it
Attention: Gentoo.guide is still a WIP. The information, design and anything else related to the site is not final.
I'm too lazy to make this banner better :P